Configuring Unreal Engine for architectural visualization


Enhance Your Architectural Designs with Unreal Engine
No matter how few or many tutorials and real-case breakdowns remain available on the official Unreal Engine website when sorting through the necessary material, it doesn’t matter. Whether you’re a beginner or a teacher explaining lighting setup intricacies in a 3D scene to your subordinates for ten years straight, it doesn’t matter. At the outset, it doesn’t even matter why you are using this popular program originally designed as a game engine (due to its evolution and humanity’s increased desire to simplify life by adapting it to their needs, Unreal Engine has become a much more refined and versatile “tool”).
When you’re seeking ways to speed up rendering to save a week’s worth of time, the checkboxes marked to filter information are just a convenient formality. A project never begins immediately with complex mathematical calculations. At the start, there’s only a tutorial on installing Unreal Engine on a personal computer – the only step that seems straightforward against future obstacles. And then, a blank canvas. Or rather, a digital one. That’s where the real adventures begin. Especially for those attempting to create architectural projects… But we have a plan!

Step 1: Installing the program
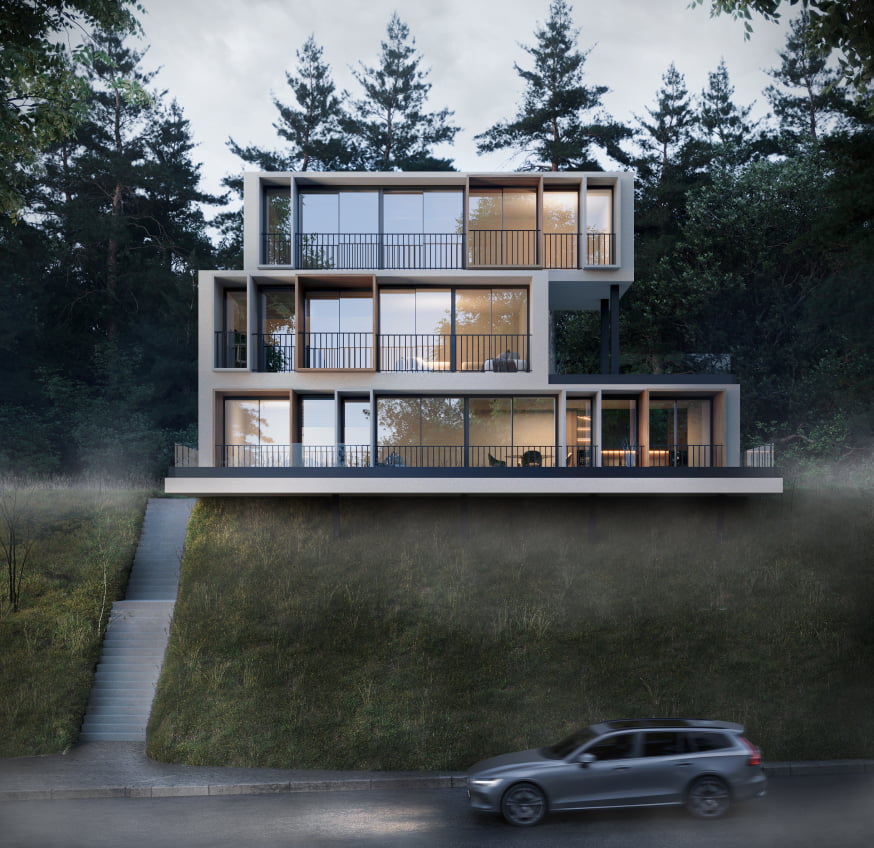
For those looking to refine and streamline the process of creating architectural projects like houses, country villas or entire hotel networks (which will require even more scene optimization) the doors of the Epic Games developer website are always open.
There, you’ll find a straightforward step-by-step guide that will bring you one step closer to the title of an advanced modern individual. The engine installation chain is simple:
– download the Epic Games launcher;
– create a personal account (or log into it if you already have one) within the installed program;
– sign in and install any version of Unreal Engine (bright button in the top right corner with additional version selection options marked with “+”).
For smooth operation and to avoid the same long waits as in a Saturday store queue, it’s also crucial to know the minimum software requirements. These vary depending on the operating system. Furthermore, for Windows, MacOS and Linux users potential pitfalls could include specific rendering features like the Lumen global illumination and reflection system or the Nanite virtualized geometry. Details on the nuances of required graphics cards or processors can be found on the official website in the documentation.
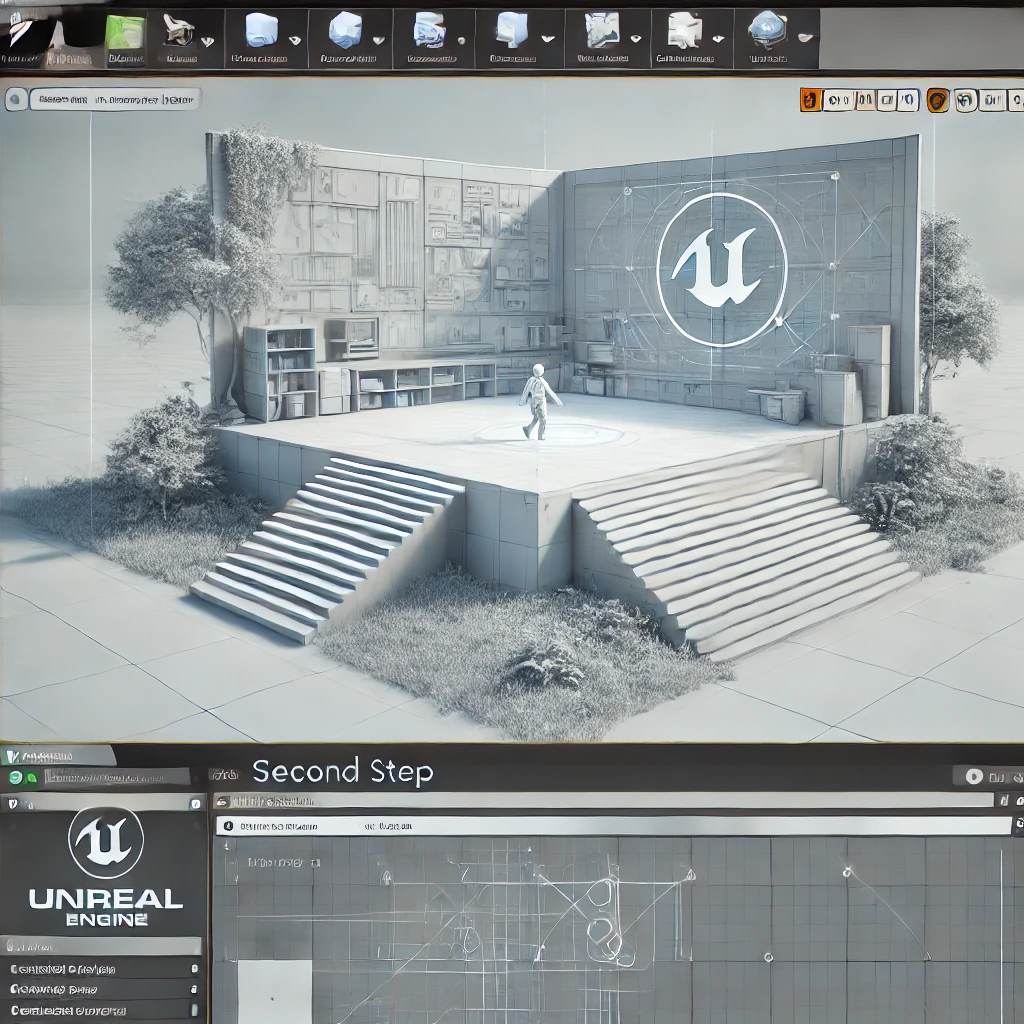
Step 2: Clean slate and basic moves
Upon launching the chosen version (you can download multiple), you’ll encounter a browser window with an almost blank canvas. This “unexpected” turn is avoided if you’ve already tried your hand at creating your first render of a forest array or a 3D character scene perhaps one that stepped out onto the balcony for a smoke break.
In another universe where you’re just beginning to explore the engine’s intricacies, the prominent “entry” will feature thematic blocks for creating specific games, films, architectural projects and car configurators.
Additionally, on the right panel you’ll face the challenging decision of default settings, especially if you aren’t skilled in writing C++ code (remember, the engine opens even more new horizons for those fluent in programming languages). As a lifeline within the program, there’s the visual scripting system “Blueprint”, which makes learning Unreal Engine less “painful.”
Next, in the dropdown list you’ll click on the target platform, choose the quality of your future project, check the box to include assets (gain “bonus” models, special effects or even sounds if you decide on creating architectural animations or videos) and then define the project’s storage location on your disk. Lastly, name your “ship” with a name that aligns with where it will sail next, as you desire!
Step 3. Model import nuances and standardsStep 3. Model import nuances and standards
Editing of the future scene takes place in the viewport, where tools for rotating, moving, rotating or scaling models can be utilized. These models often migrate from other 3D modeling programs (such as SketchUp, Revit, Rhino or the venerable 3Ds Max), so it’s important to understand their formats.
The most common formats are OBJ (limited in animation support but strong in geometry and texture fidelity) and FBX, which accurately reflects the skeletal structure data of your character (bone positions, hierarchy, mesh connections and etc.).
Once navigation and import tasks are mastered, attention turns directly to standards that will enrich the prepared model – adjusting lighting, materials, textures and more. Here, you encounter concepts like nodes, instances, which save valuable time when needing to change the ceiling color or garage wall in one go, or dealing with the “sun” effects whose rays may unrealistically penetrate the model’s geometry.
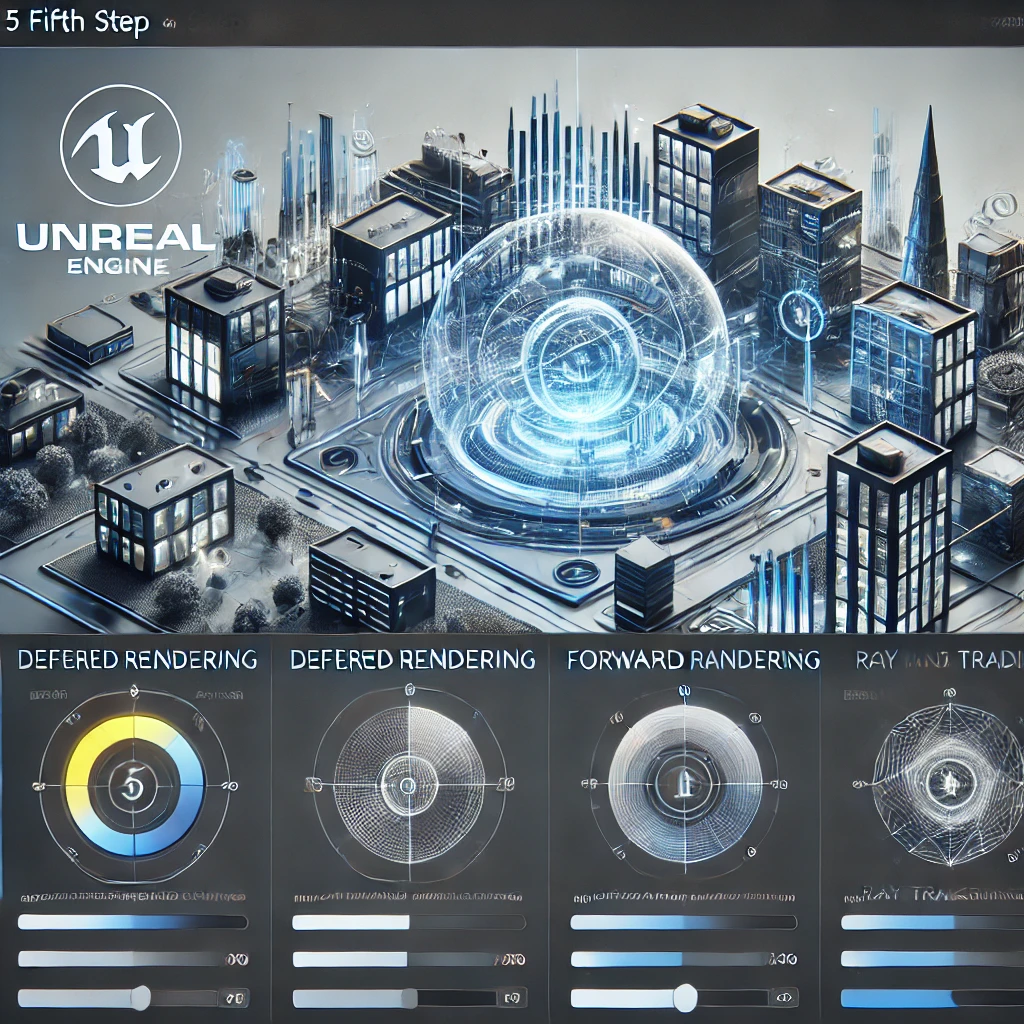
Step 5. Rendering settings
Rendering in Unreal Engine offers architects and visualizers several key methods: deferred rendering for processing lighting and materials in two passes, forward rendering for efficient handling of small scenes with few light sources as well as modern ray tracing technologies for creating realistic reflections and shadows. Unlike traditional visualization programs like 3Ds Max, Unreal Engine provides a more dynamic environment with real-time visualization editing capabilities. This allows architects to quickly experiment with different design options and instantly see changes making the process more interactive and productive.
Step 6. InteractivityStep 6. Interactivity
Using Blueprint you can create not only static visualizations but also experiment with animation elements. For example, you can use a template for an opening door in a child’s room interior to showcase all the possibilities of virtual tours.
Unreal Engine provides a powerful set of tools for creating immersive and photorealistic architectural visualizations. Efficient engine configuration and utilization of its features enable the creation of high-quality visual representations of architectural projects that captivate and inspire viewers.
SHARE THIS...

Start Your Journey in Real Estate Now
Our other articles


Get in touch
The art of 3D visualization is our passion. We specialize in a wide range of services to bring
your ideas to life. In our arsenal, we have architectural rendering, interior visualization, 3D product visualization, 360-degree panoramas, virtual reality (VR), architectural animation, rendering
for metaverses, and many other capabilities.
If you’re looking to elevate your business with stunning visualizations, simply fill out the form below. Our team will get in touch with you shortly to kickstart work on your project. Let’s collaborate to create visualizations that will amaze your clients and help you achieve your goals.
Contact us